Showing posts with label eyeko. Show all posts

Little red flowers

Friday, 1 June 2012

Just a quick post today on my latest nail art. This is completely inspired (copied) by how Camilla had hers at the bloggers boutique. But i loved it too much to not have a go myself.

Models Own - snow white, Rimmel - rapid ruby, Eyeko - saucy polish

Mine definitely aren't as neat, but i do like the way they look. Had quite a few comments on then because the white background stands out quite a bit. I painted two coats of white first and completely let that dry. Then used the end of a bobby pin and the eyeko polish for the centre, followed by the other end of the pin and the rimmel red for the outer dots. Not that you can really tell much of a difference between the two shades of red unless you really inspect them.

Tomorrow there is a jubilee celebration in our town all morning with stalls up, cakes and buns, music and other entertainment. So i think i will attend that for a bit because a celebration like this is a once in a lifetime opportunity really. I am also going out for a meal with my boyfriend and his family which i am looking forward too.

Tomorrow i have a bit of a treat for you guys, so keep checking back!

x

Abstract nails

Monday, 21 May 2012


Polishes: Models Own - snow white, fuzzy peach, lilac dream. Eyeko - punk polish. No.7 - betty blues.

This idea comes from Erins blog where she linked to a video on how to do them, and i decided i needed to give them a go. Ive not done nail art in a while so was looking forward to doing this. And i actually think it turned out pretty well. I had to improvise a bit, didnt completely follow the video because the nail varnish didnt spread as well as i thought it would when i used the acetone. But i like the colourful mess i seem to have created. Might do these again before i go down to london for the bloggers boutique.

x

Tutorial: Triangle Nails

Sunday, 15 April 2012

Thought i would create a little tutorial for you all just to show you how i did the triangle nails from my video. Again, this is not my idea, i was inspired by Erin. But here is how i did it:

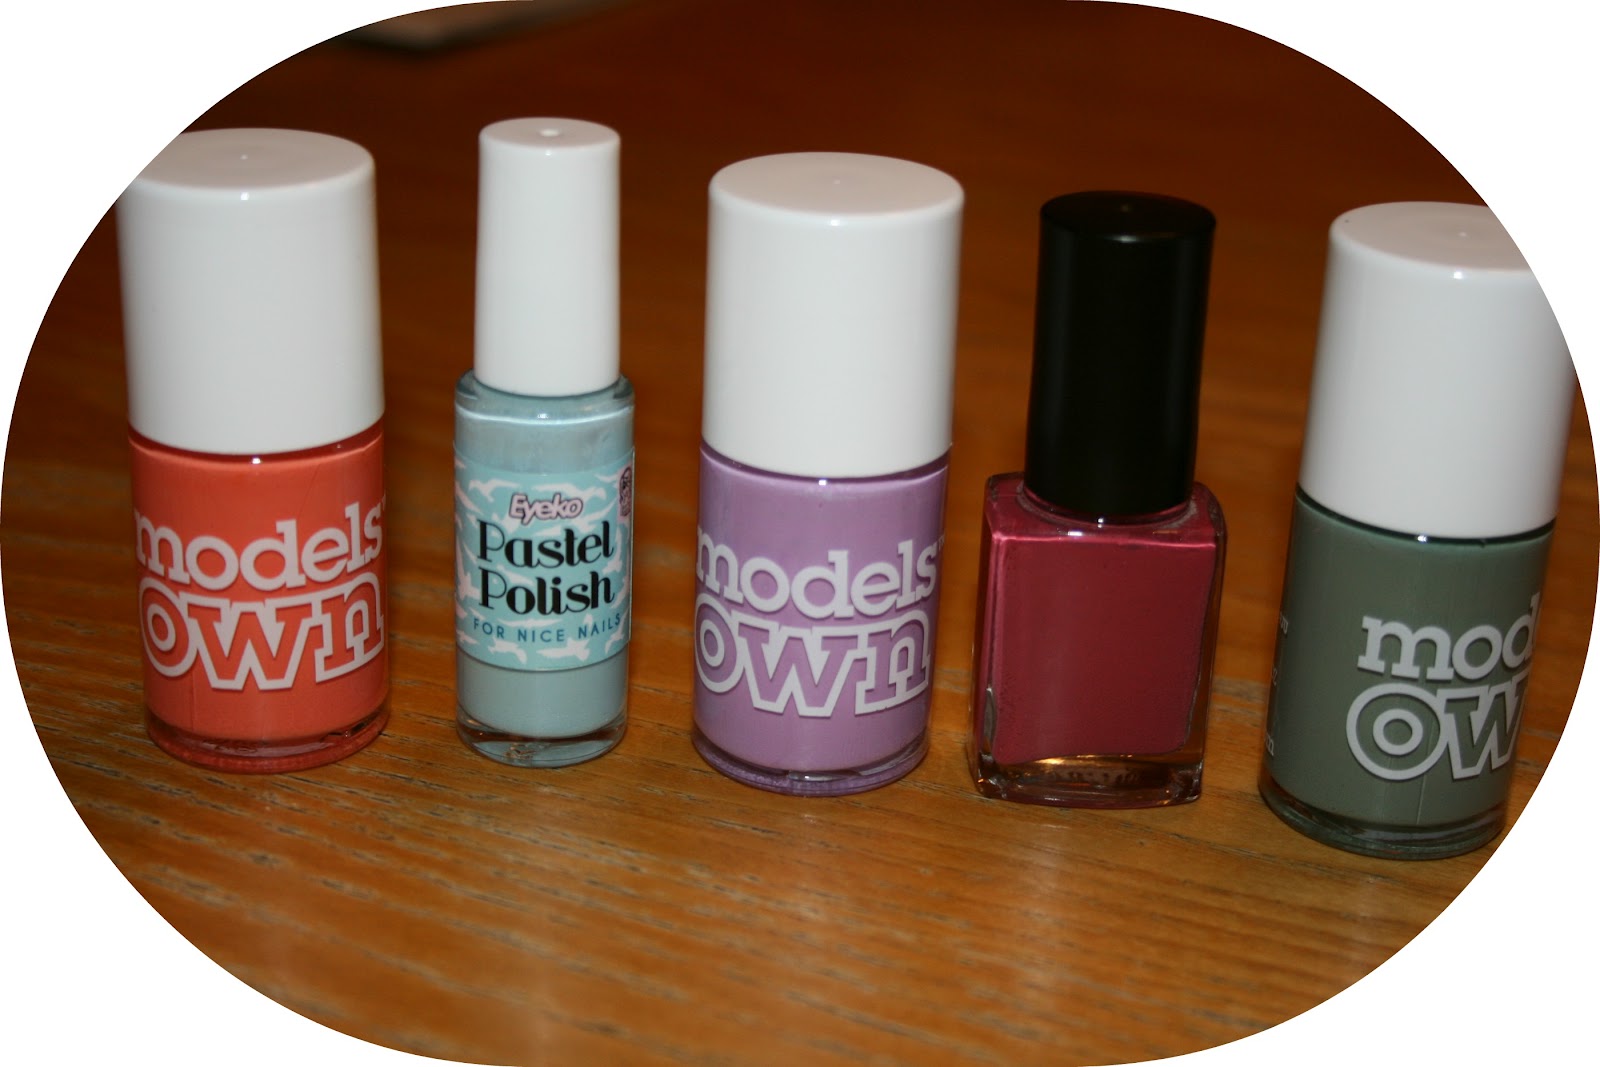
1. Choose the colours you want the triangles.
L-R: Fuzzy Peach, Pastel Polish, Lilac Dream, Not a clue, Grace Green

2. Paint your desired colour onto cellotape. I used the little dispenser because it made it a lot easier to paint onto the tape, but make sure you let if dry before moving it along.

3. Wait till they are all fully dry and then cut the individual colours of tape out.

4. Cut 2 triangles from each colour, using the straight edge as the bottom of the triangle.

5. Stick these onto your nails and then cover in 2-3 coats of clear nail varnish to seal it on. The more layers the better because the corners do have a tendency to come up.

This is how mine turned out.

Sorry the lighting isnt great on the photos, i should have done it in daylight rather than with the flash! Hope this helps you to see the steps of how they are done. Link me below if you have a go :) i have a few other nail art ideas that i really want to try out that i have seen on peoples blogs. The only problem i have is that i have to take my nail varnish off for work so i never get to keep it on for long.

I also want to say a massive hello to any new followers! The amount of traffic i have had lately has been pretty amazing so thank you. If you link your blogs when you comment i'll make sure i check them out!

x