
1. Choose the colours you want the triangles.
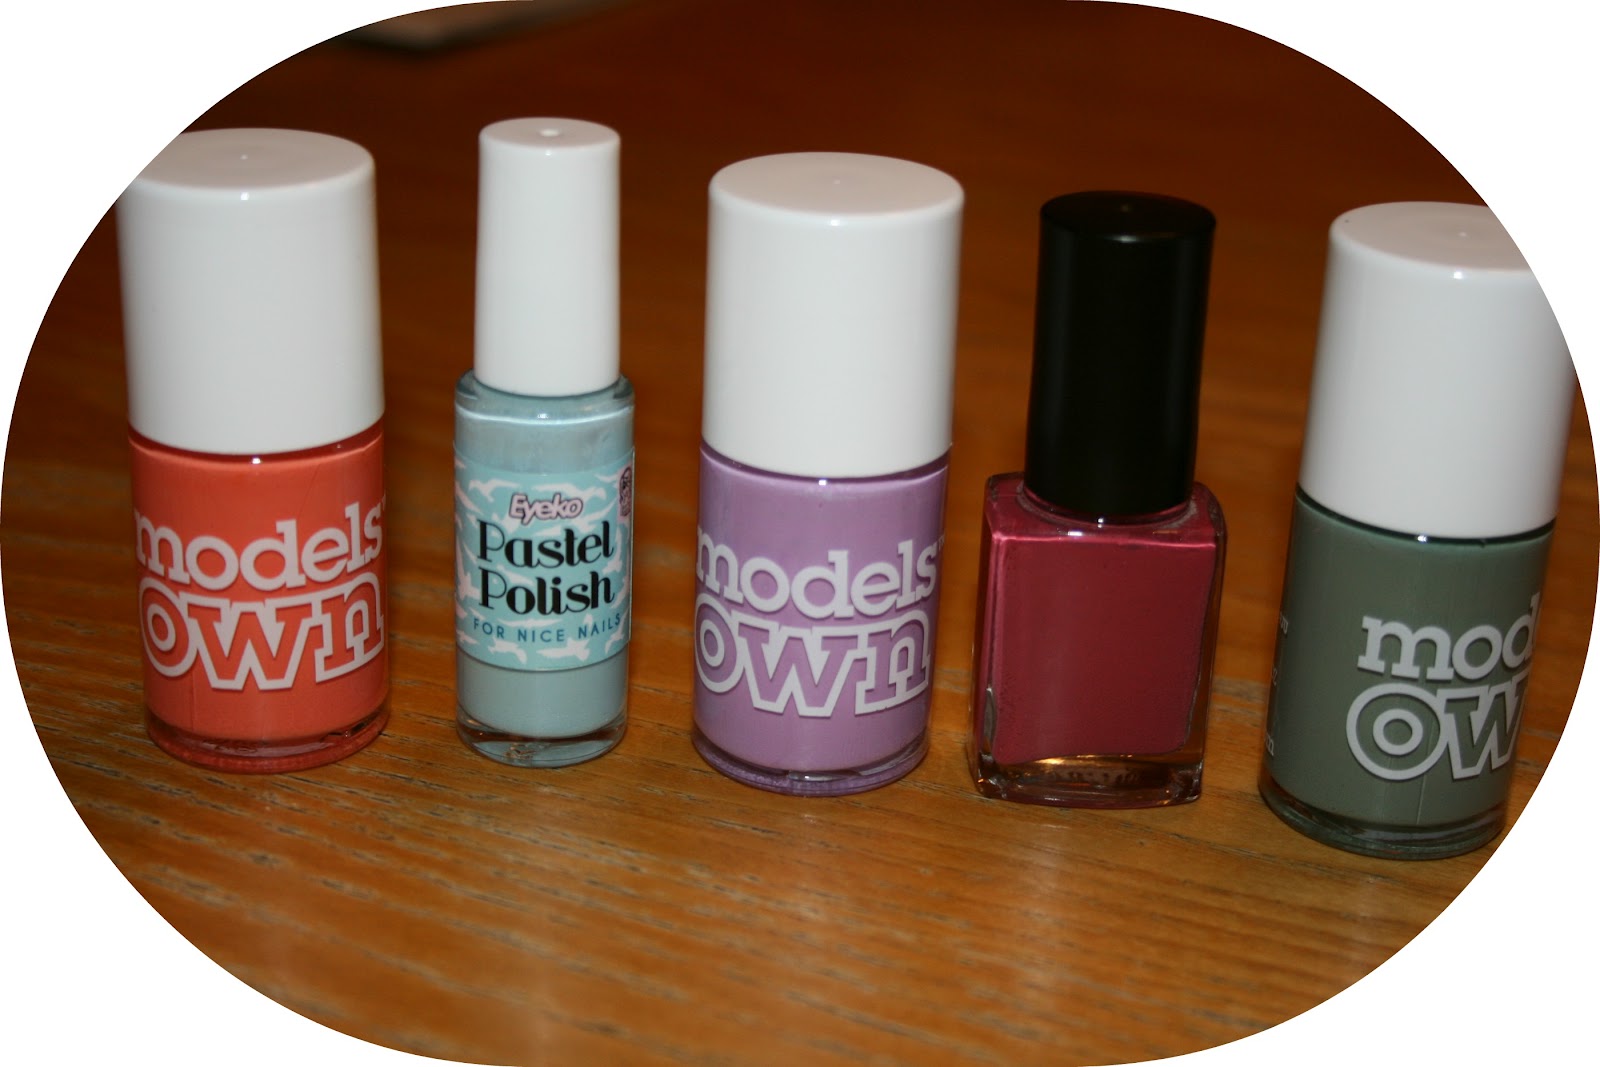
L-R: Fuzzy Peach, Pastel Polish, Lilac Dream, Not a clue, Grace Green
2. Paint your desired colour onto cellotape. I used the little dispenser because it made it a lot easier to paint onto the tape, but make sure you let if dry before moving it along.

3. Wait till they are all fully dry and then cut the individual colours of tape out.

4. Cut 2 triangles from each colour, using the straight edge as the bottom of the triangle.


5. Stick these onto your nails and then cover in 2-3 coats of clear nail varnish to seal it on. The more layers the better because the corners do have a tendency to come up.

This is how mine turned out.

Sorry the lighting isnt great on the photos, i should have done it in daylight rather than with the flash! Hope this helps you to see the steps of how they are done. Link me below if you have a go :) i have a few other nail art ideas that i really want to try out that i have seen on peoples blogs. The only problem i have is that i have to take my nail varnish off for work so i never get to keep it on for long.
I also want to say a massive hello to any new followers! The amount of traffic i have had lately has been pretty amazing so thank you. If you link your blogs when you comment i'll make sure i check them out!
x
great idea!
ReplyDeletewhen I read the title, I thought you would paint the triangles right on the nails but this seems much easier!
Thankyou! It is a great album isn't it? Love the colours you've used here, especially the purple tone.
ReplyDelete♥mollie from musicandmollie
ooo that's pretty cool! :D
ReplyDeleteKrissy xoxo
such a clever idea, i would have never thought of doing that but now i cant wait to try it out!
ReplyDeleteJessie xx
itsbeautywithin.blogspot.co.uk
id never think to do that! great idea :)
ReplyDeleteReally cool :) x
ReplyDeletethis is a really clever idea, you could do it over a base colour too and stick 2 or 3 on each nail!! Love thisss xx
ReplyDeleteLove the colours you chose!
ReplyDeleteThanks for linking me :) x
So simple!
ReplyDeletewww.lifeslittlestars.blogspot.com
This is such a cute idea! Definitely trying it.
ReplyDeletesuch a brilliant idea! love it! Sam xx
ReplyDeleteThis is such a clever idea :)
ReplyDeleteI need to try this!
x x x
how clever! love this!
ReplyDeletexx